The Purchase feature in UniTaskerPro simplifies your vendor management process, providing a central hub to store and access all your vendor information. This ensures you have essential details readily available for smooth purchase transactions.
Adding a New Vendor
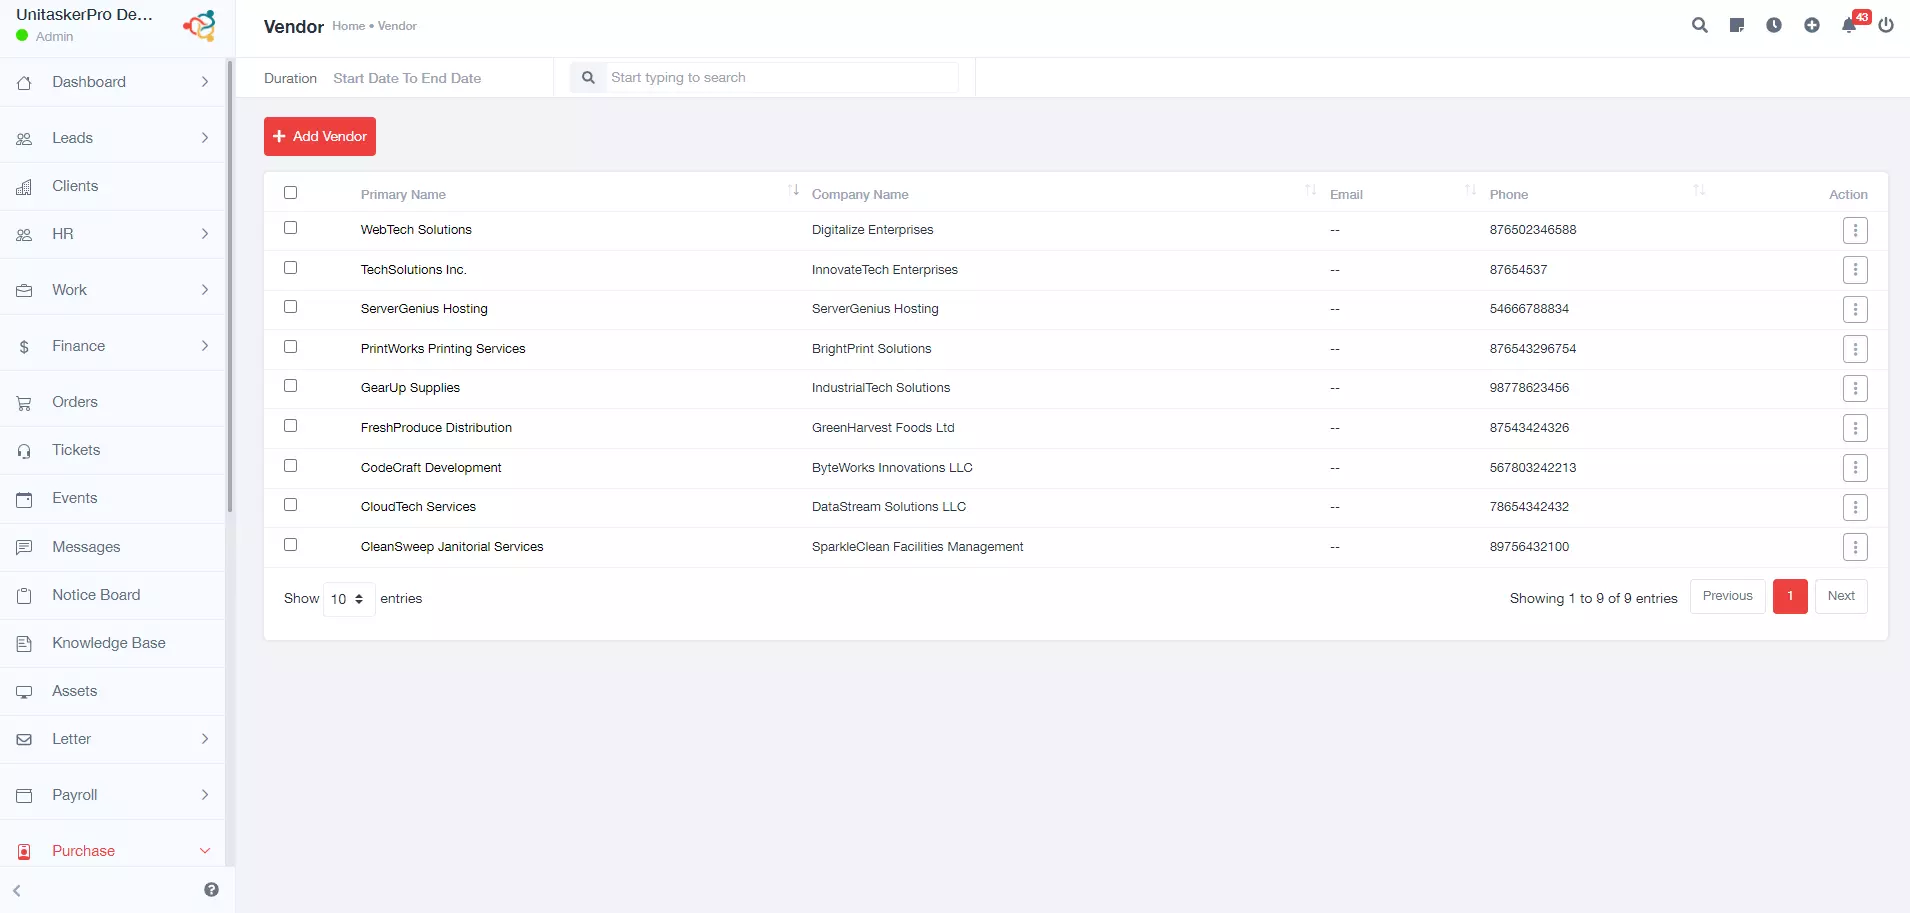
Within the Purchase module, locate the section labeled “Vendor”. This section keeps your vendor list and tools for managing vendor information.
Initiate New Vendor:
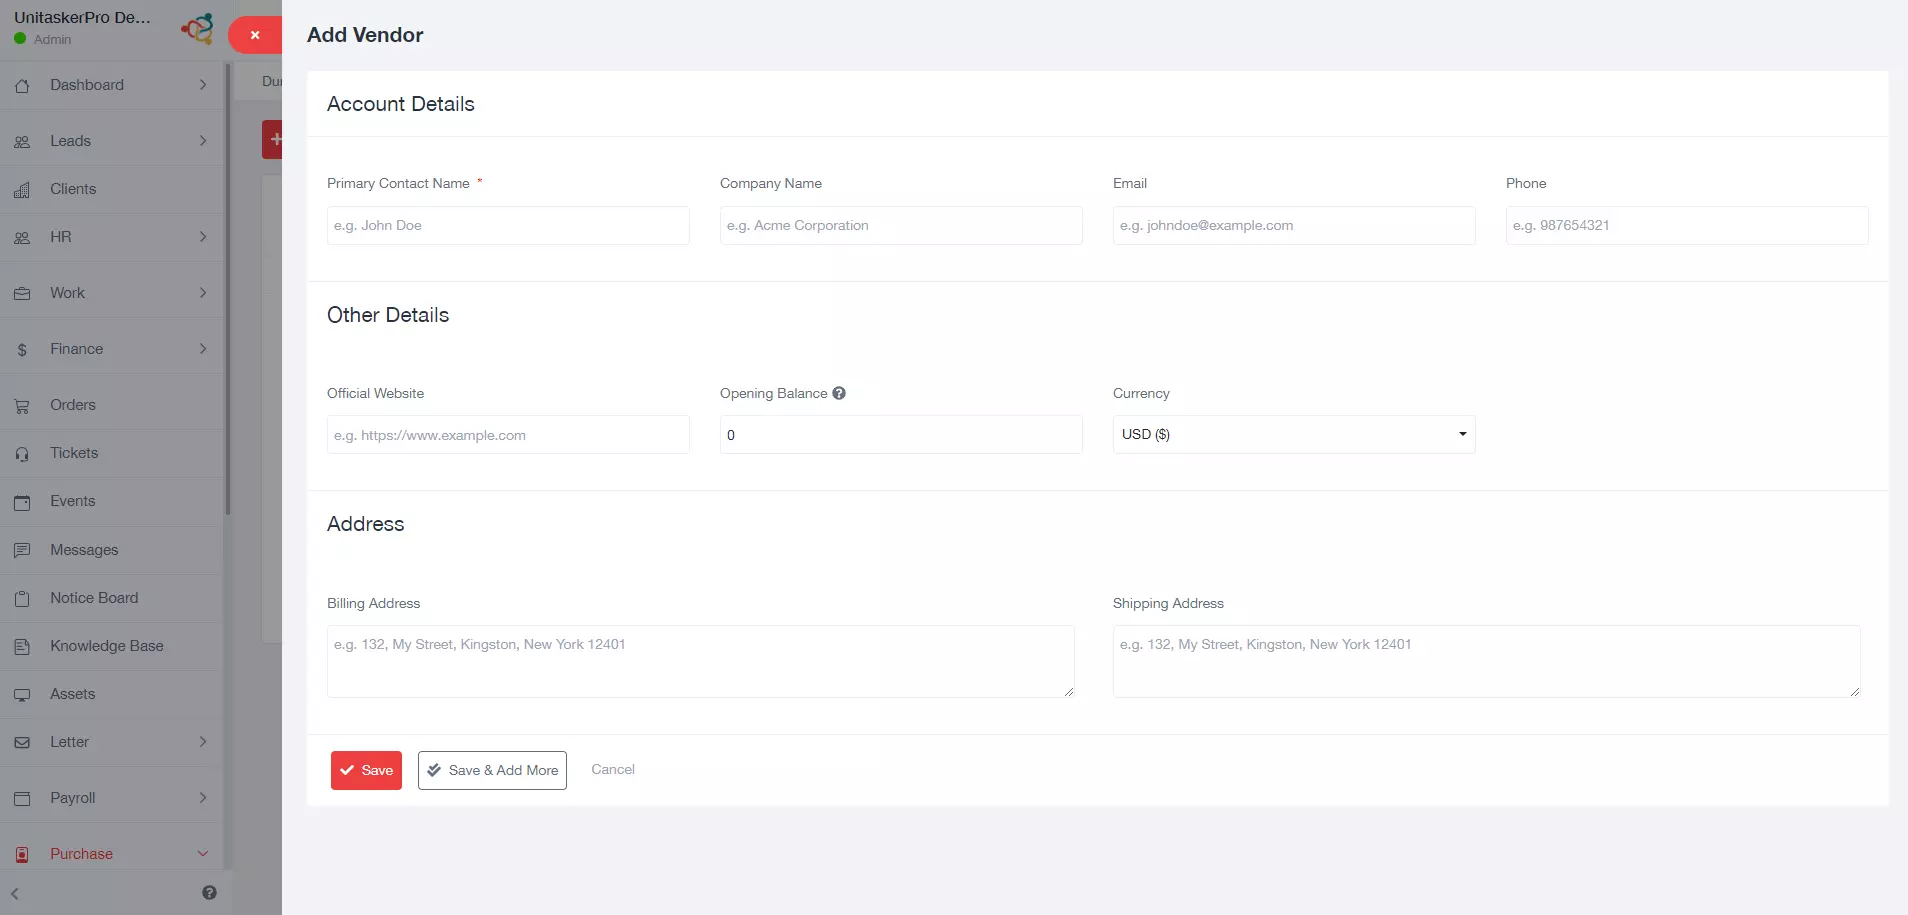
Click the button labeled “New Vendor” or similar. This button opens a form to capture details about your new vendor. The vendor details form includes several key fields:
Primary Contact Name: Enter the full name of the primary contact person at the vendor company. This is the person you will likely communicate with for purchases and other inquiries.
Company Name: Enter the legal business name of the vendor company.
Email: Enter the primary email address of the vendor company.
Phone: Enter the vendor company’s phone number. This can be a landline number or a relevant mobile number for contacting the vendor.
Official Website : If the vendor company has a website, enter the complete URL here.
Opening Balance: If you have an existing balance with the vendor at the start of using UniTaskerPro, enter the amount here. This helps maintain accurate financial records within the system.
Currency: Select the currency used for transactions with this vendor.
Billing Address: Enter the complete billing address of the vendor company. This address will be used for generating invoices and other financial documents.
Shipping Address: If the vendor has a separate shipping address from their billing address, enter it here.
Save the New Vendor:
Once you’ve entered all the necessary details, click the “Save” button. This will add the new vendor to your UniTaskerPro system and store their information for future reference.
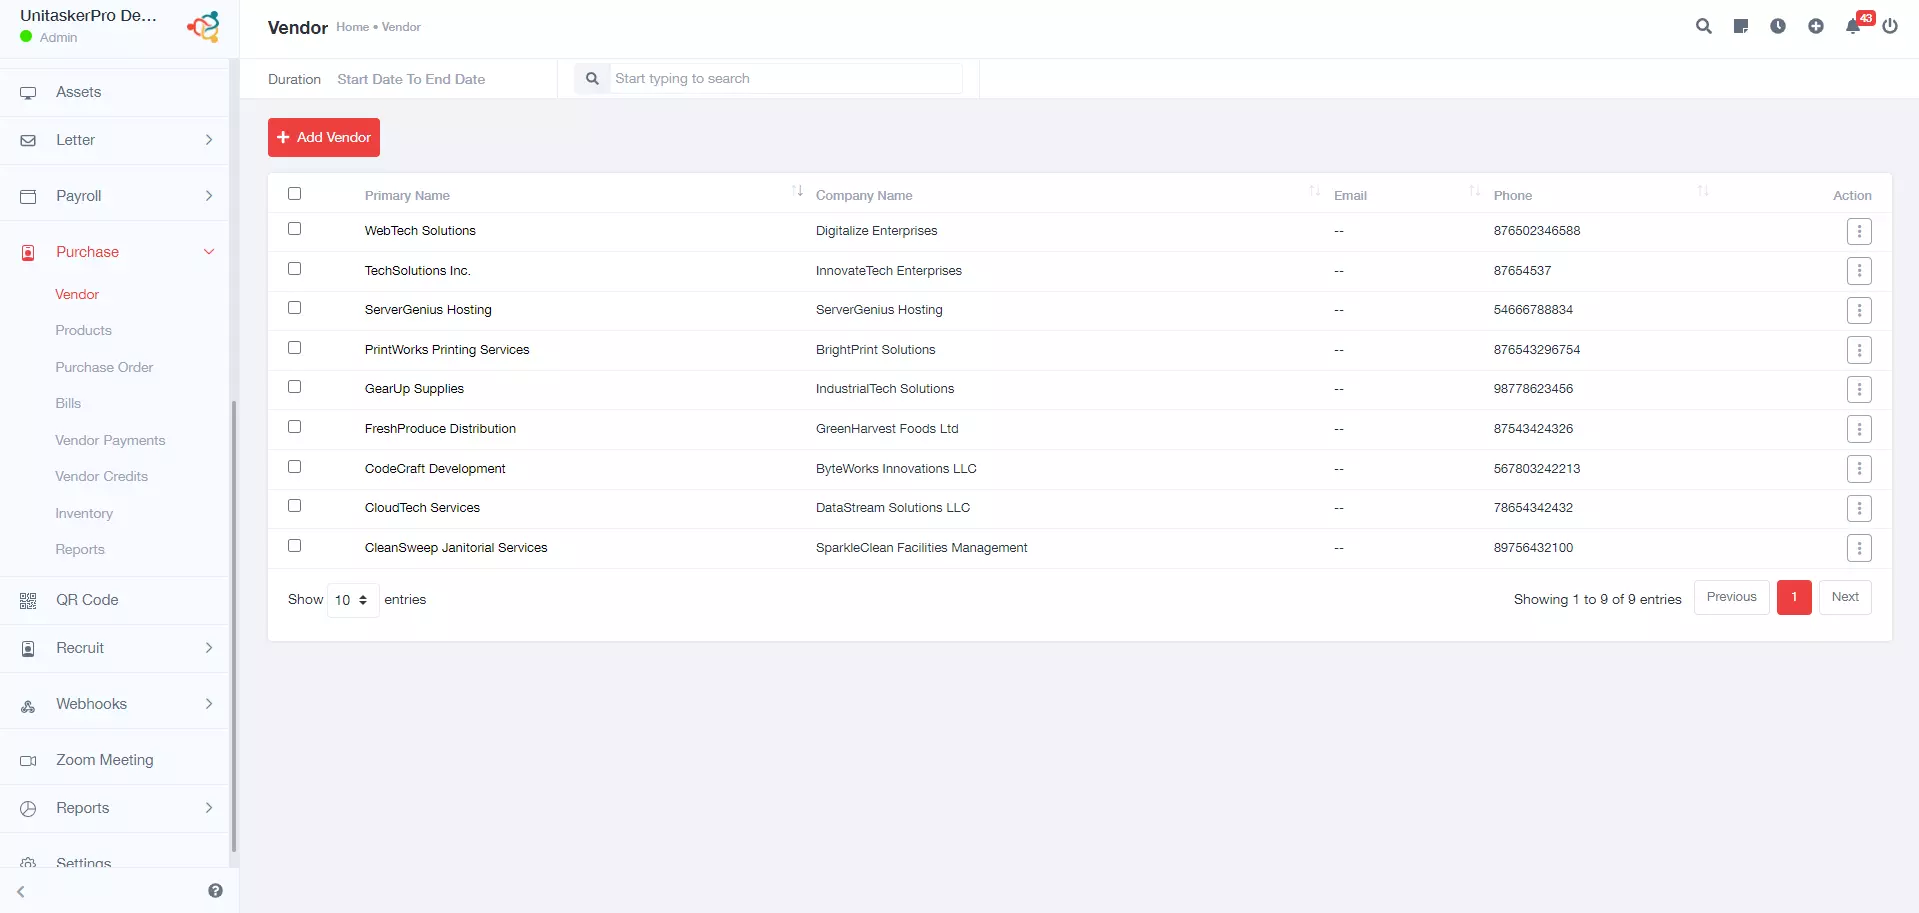
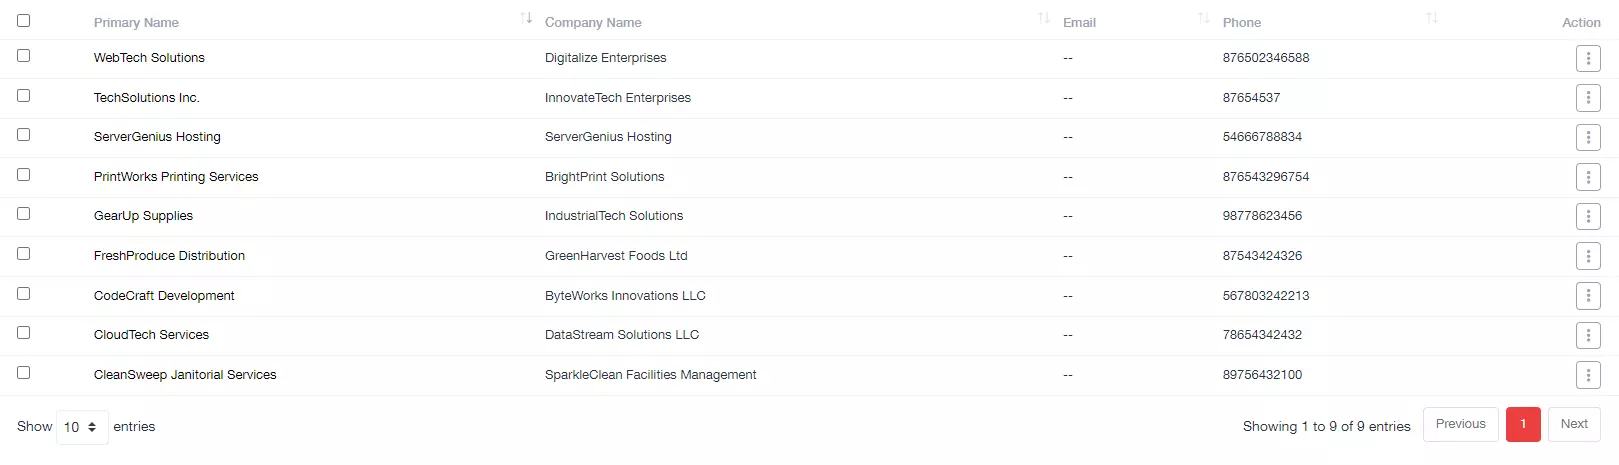
Viewing Existing Vendors
The vendor management page provides a list of all the vendors you have added to UniTaskerPro. This list serves as a quick reference for your vendor base.
The list typically displays basic details about each vendor, such as:
Primary Contact Name: Name of the primary contact person.
Company Name: Name of the vendor company.
Email: Email address of the vendor company.
Phone: Phone number of the vendor company.
Managing Existing Vendors
Each vendor entry in the list will have an Action button. Clicking this button reveals a menu with options to manage the vendor’s information.
View: This option allows you to view the complete details of the selected vendor, including all the information you entered while adding them.
Edit: This option allows you to modify the existing information of the selected vendor. You can update any details that may have changed or require correction.
Delete Vendor: This option permanently removes the selected vendor from your vendor list. Use this option with caution as deleted vendor information cannot be retrieved.