
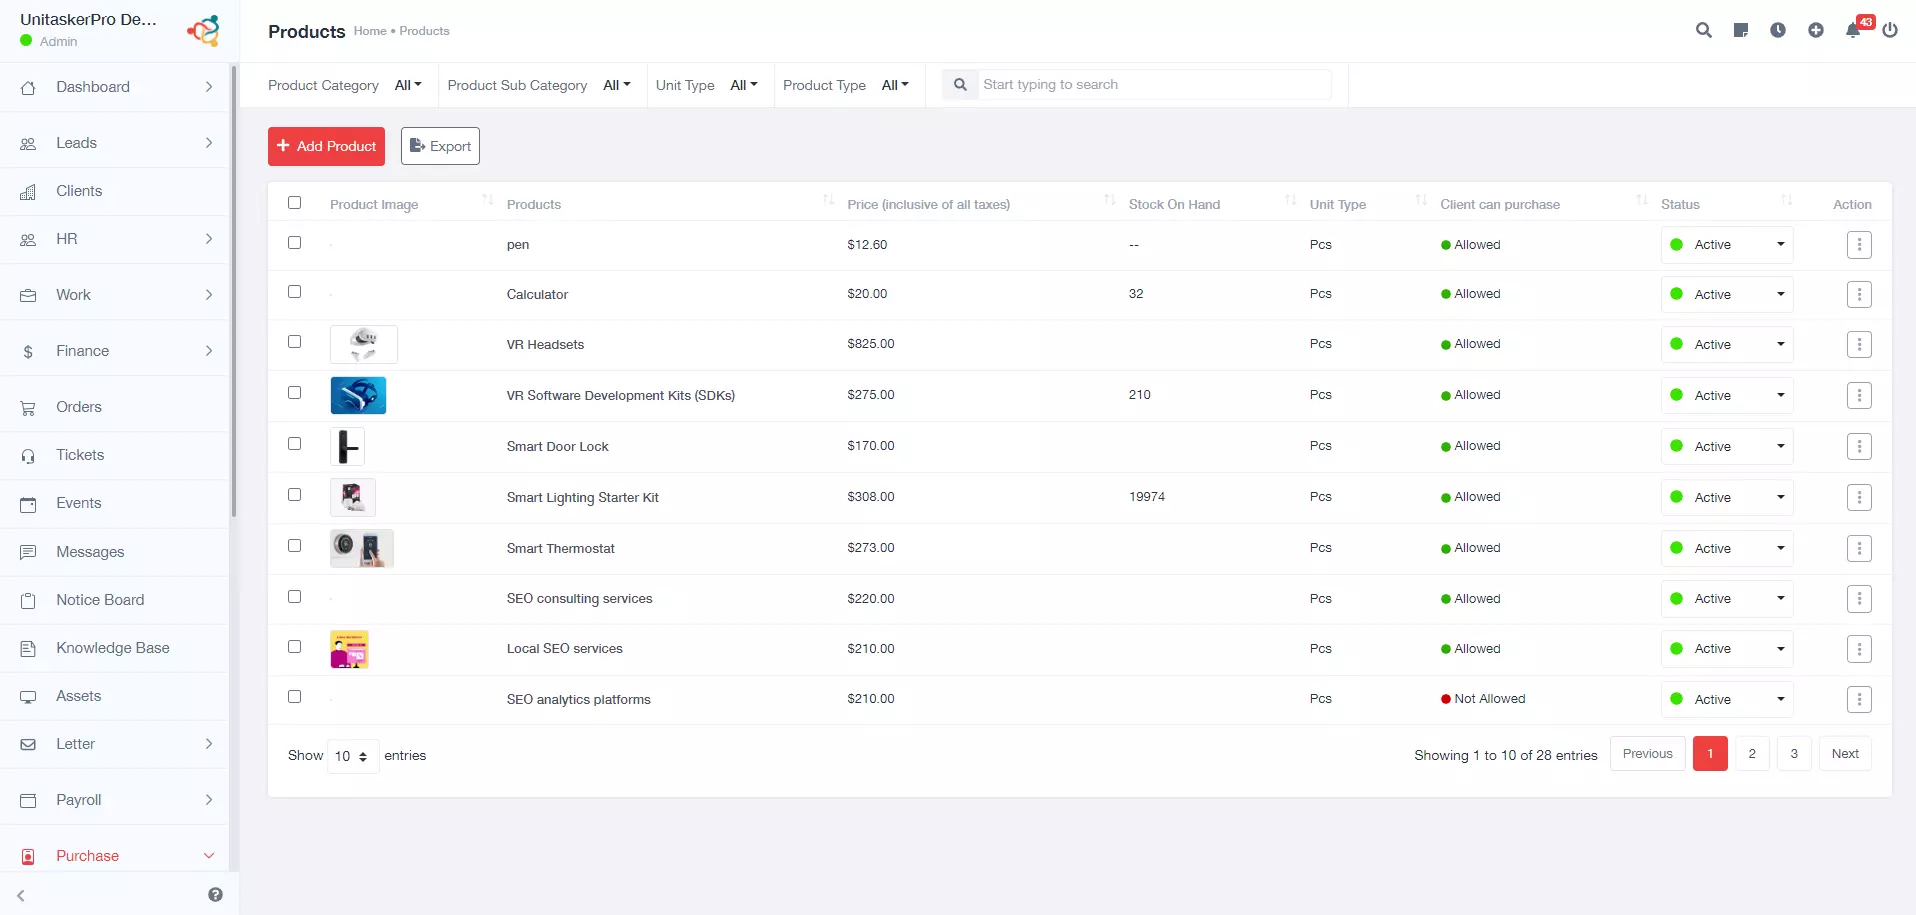
Products
Adding a New Product
Once you have accessed the product management page, locate the button labeled “Add Product”. Clicking on this button will open a new product creation form.Here’s a breakdown of the key fields you will encounter:
- Type: Specify whether the product being added is a evident good (e.g., clothing, equipment) or an intangible service (e.g., consultation, repair).
- Name: Enter a clear and descriptive product name that accurately reflects the product’s purpose and value proposition.
- SKU (Stock Keeping Unit): Assign a unique SKU code to the productIt helps you efficiently locate and monitor individual product units within your stock.
- Unit Type: Define the unit in which the product is typically measured or sold. Common unit types include pieces, grams, liters, meters, etc.
- Product Category: Select the most appropriate category that best describes the product’s type. UniTaskerPro provide a predefined list of categories to choose from also it allows you to create custom categories to suit your specific product range.
- Product Sub Category: If applicable, and the system allows it, you can further refine the product classification by choosing a sub category within the main category you selected.
- Selling Price: Enter the price at which you will be selling the product to your customers.
- Cost Price: Enter the price at which you acquire the product from your vendor or supplier. This value helps you determine your profit margin and make informed pricing decisions.
- Tax: Specify any applicable tax rates that should be added to the product’s selling price during the checkout process. Depending on your location and product type, you may need to configure different tax rates.
- HSN/SAC : If relevant to your region, enter the Harmonized System Nomenclature (HSN) or South Asian Classification (SAC) code for the product. These codes are used for product classification and identification purposes, particularly in international trade.
- Description: Provide a detailed and informative description of the product.
- Add Images: Upload high-quality images that visually represent your product.
- Track Inventory: Choose whether you want to enable inventory tracking for this product. Inventory tracking allows you to monitor your stock levels in real-time and ensures you don’t sell products that are out of stock. This is particularly important for managing physical goods.
- Client Can Purchase: Select this option if you want to make the product available for purchase by your clients.
Downloadable: If the product is a digital good (e.g., ebook, software, template), indicate that it’s downloadable.
Save the New Product:
Once you have entered all the necessary details, configured the options, and uploaded any relevant
Action Button:
Each product entry will have an Action button. Clicking this button reveals a menu with options for managing the product:
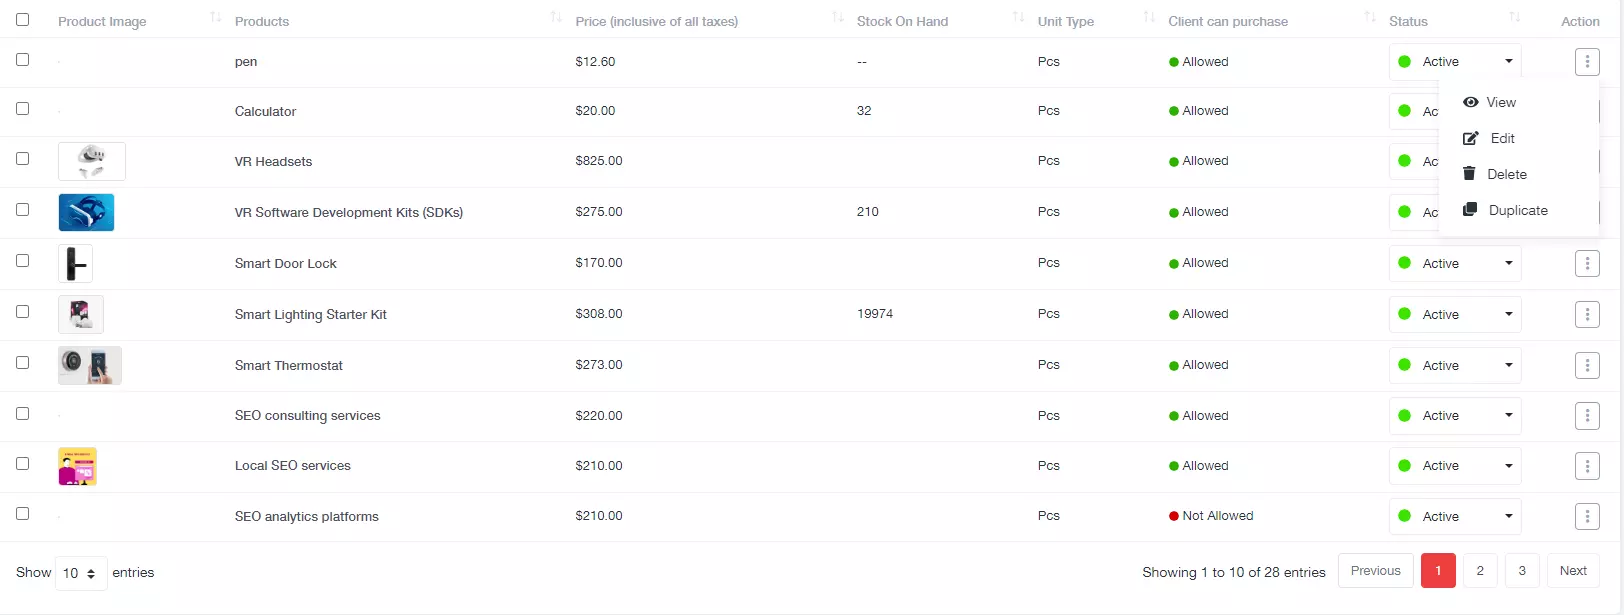
- View: View the complete details of the selected product.
- Edit: Edit the existing information of the selected product.
- Delete: Delete the selected product from your store. (Use with caution)
- Duplicate: Create a copy of the selected product as a new product with similar details.
Export Products:
The product management page may also offer an option to export your product data in a specific file format (e.g., CSV,PDF) for backup or further analysis.