
Payments
Payment Management in UniTaskerPro
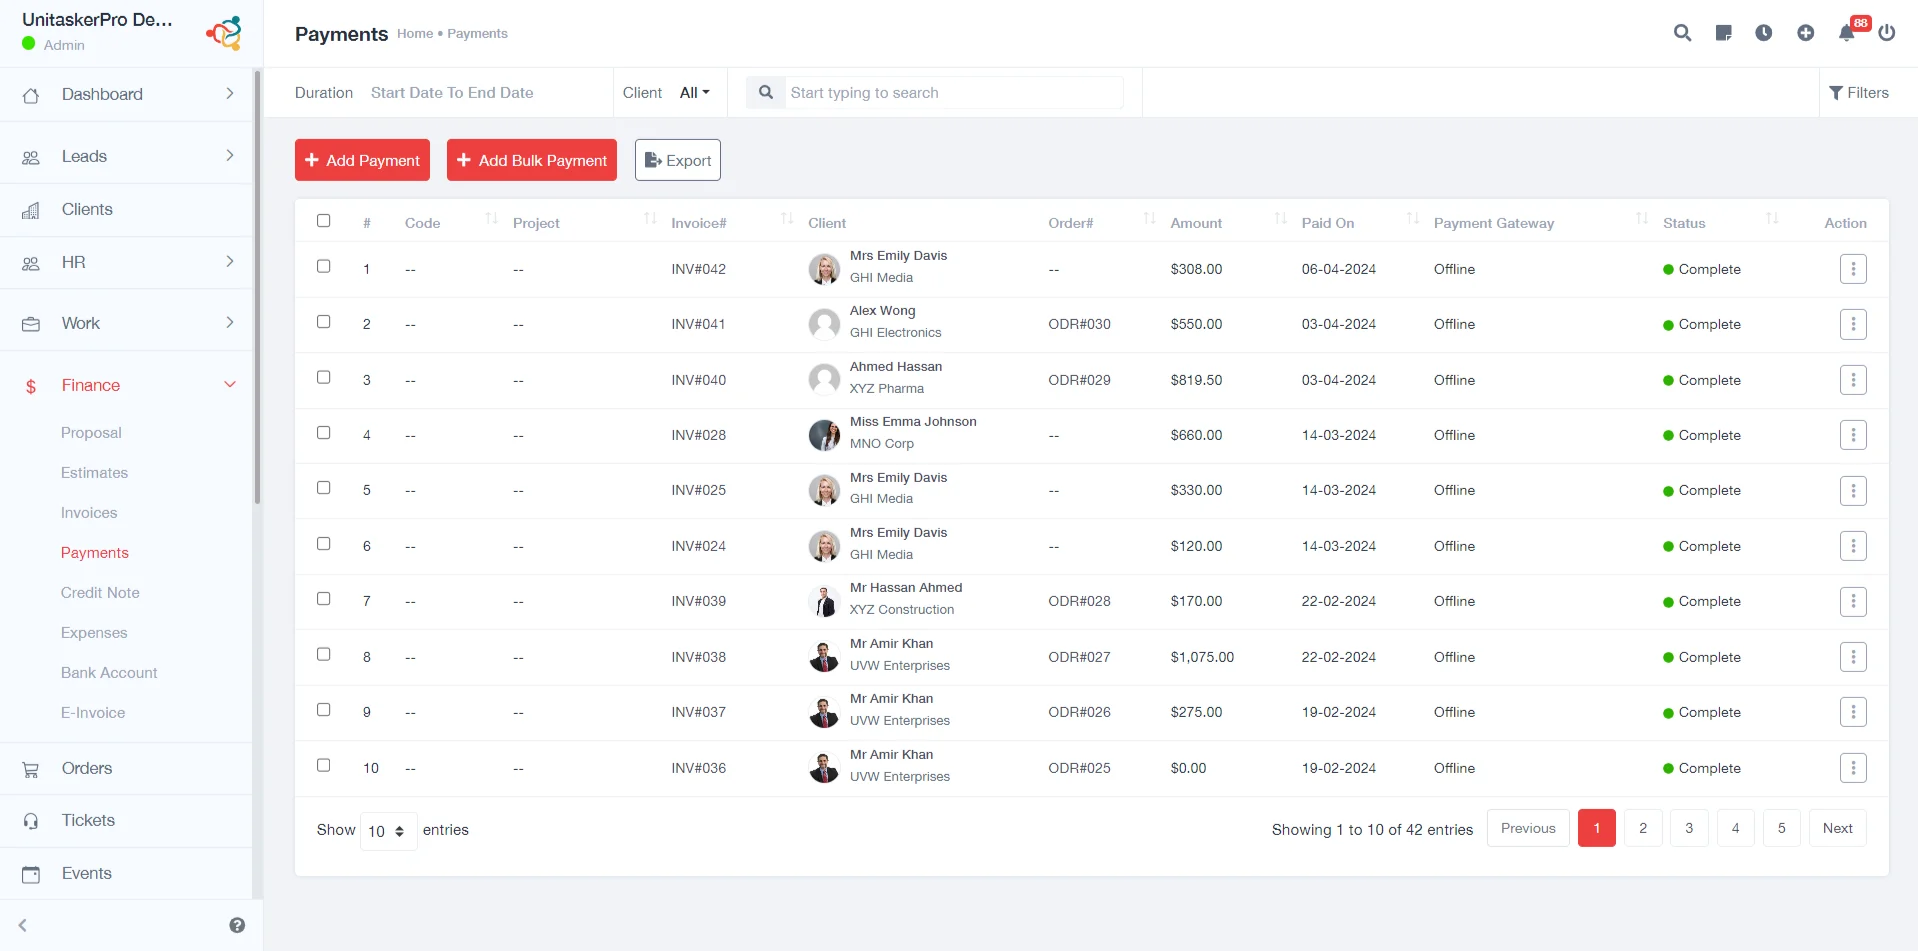
To access the payment feature in UniTaskerPro, locate the Finance section either through the main navigation menu or dashboard. Once in the Finance section, find and click on the designated tab or feature labeled “Payment” to enter the payment management interface.
Adding a Payment
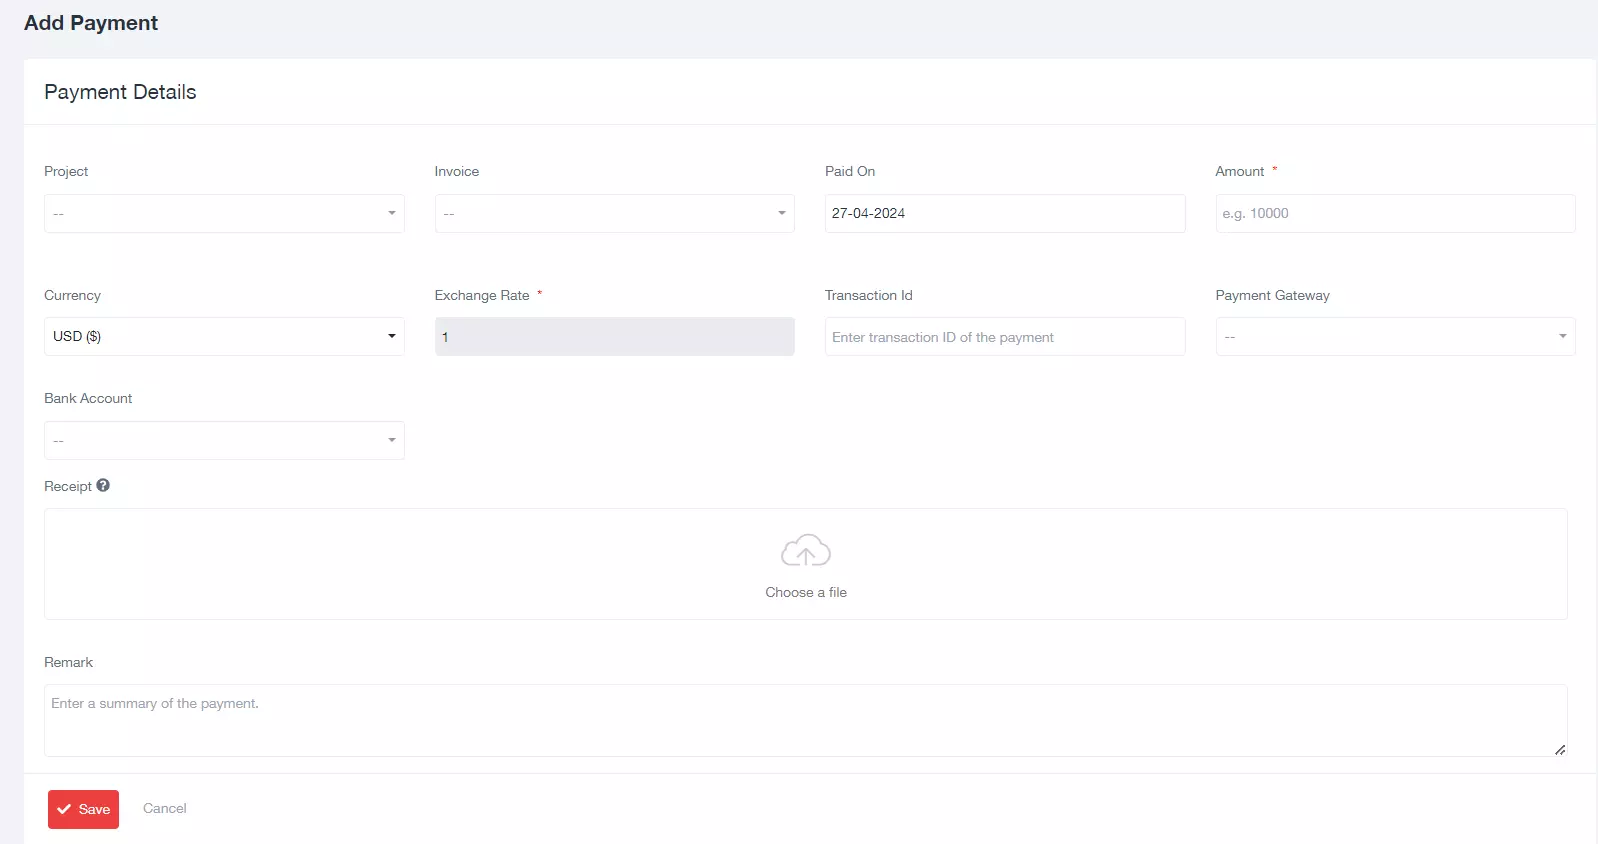
Within the payment management interface, locate and click on the button labeled “Add Payment” to initiate the payment creation process. Upon clicking the “Add Payment” button, a new page or form will appear where you’ll need to input specific details related to the payment. These details typically include:
- Project: Select the relevant project associated with the payment.
- Invoice: Choose the invoice to which the payment applies.
- Paid On: Specify the date on which the payment was made.
- Amount: Enter the amount of the payment.
- Currency: Select the currency used for the payment.
- Exchange Rate: If applicable, provide the exchange rate used for currency conversion.
- Transaction ID: Input the unique identifier associated with the payment transaction.
- Payment Gateway: Specify the payment gateway used for processing the payment.
- Bank Account: Select the bank account involved in the transaction.
- Receipt: Attach any relevant receipts or documentation.
- Remark: Optionally, add any additional notes or remarks.
- Save: Once all required details are filled in, save the payment information to record it in the system.
Viewing Previous Payments
Users can view previous payments along with basic details. These details include:
- Code: Unique identifier for the payment entry.
- Project: Name or identifier of the project associated with the payment.
- Invoice Number: Identification number of the invoice.
- Client: Name or identification of the client who made the payment.
- Order Number: If applicable, the order number is related to the payment.
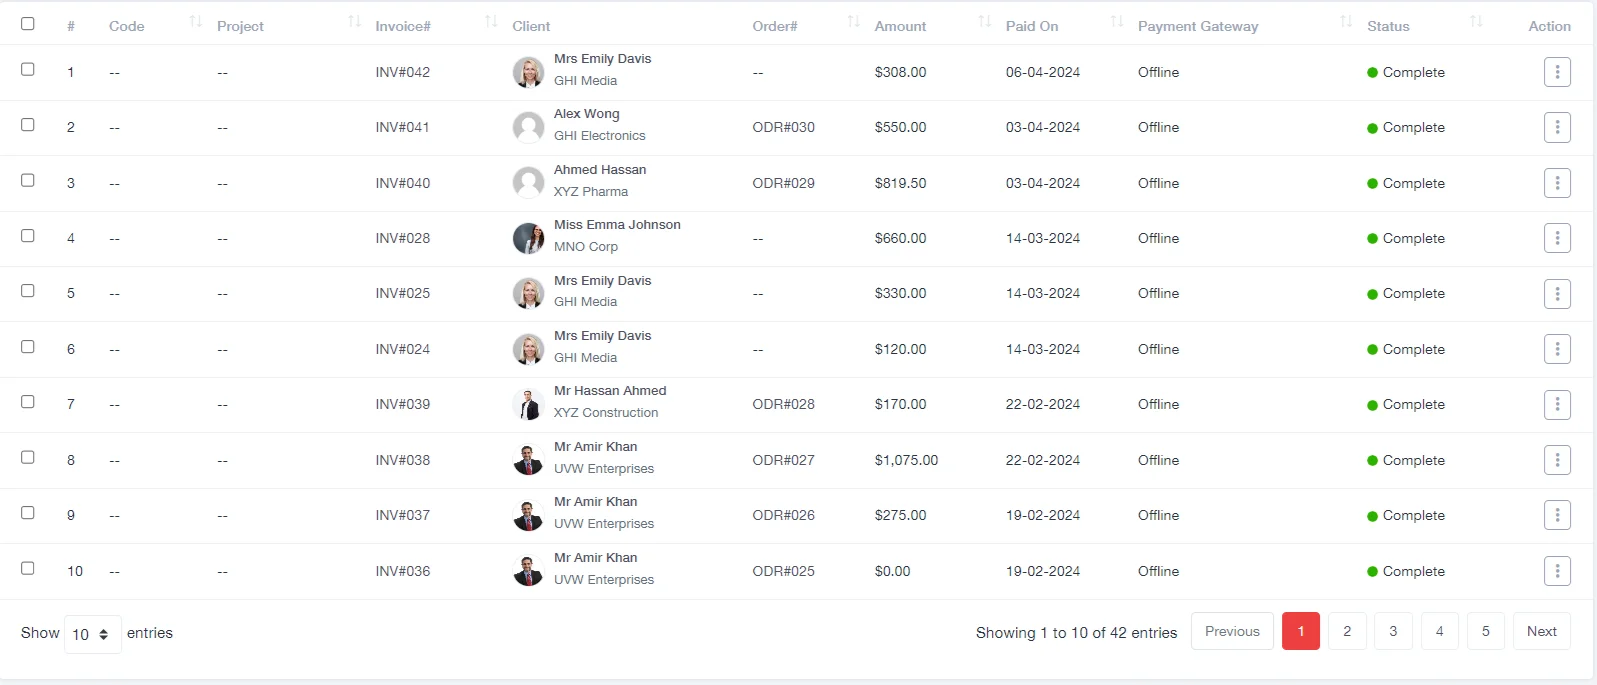
- Amount: The total amount of the payment.
- Paid On: Date when the payment was made.
- Payment Gateway: The payment gateway used for processing the payment.
- Status: Current status of the payment (e.g., pending, processed, refunded).
- Actions: Options to perform actions such as viewing, downloading, or deleting the payment entry.
Adding Bulk Payments
Within the payment management interface, locate and click on the button labeled “Add Bulk Payment” to initiate the bulk payment creation process. Provide the necessary details for adding multiple payments simultaneously. This include:
- Filter Invoice by Client: Users may have the option to filter invoices based on specific clients or criteria to streamline the selection process.
- Select Payment Method: Choose the preferred payment method for the bulk payments, such as online,offline, credit card, bank transfer, or check.
- Invoice Number: Enter the invoice numbers corresponding to the payments being added in bulk.
- Payment Date: Specify the date on which the bulk payments were made.
- Payment Method: Indicate the method used for the bulk payments, providing insights into the payment processing channels utilized.
- Offline Payment Methods: If offline payment methods are accepted, users may need to select the appropriate options, such as cash or check.
- Bank Account: Select the bank account(s) involved in the transactions, especially for payments received through different accounts.
- Transaction ID: Provide the transaction ID(s) associated with each bulk payment, facilitating easy tracking and reconciliation.
- Amount Received: Enter the amount received for each payment, ensuring accuracy in recording financial transactions.
- Invoice Balance Due: Indicate the remaining balance due on the invoices after applying the bulk payments, helping users stay informed about outstanding payments.
- Save: Once all required details for the bulk payments have been entered, users should click the “Save” button to process and record the payments in the system.

Exporting Payments
Users have the option to export payments for further analysis or record-keeping purposes. This functionality allows users to generate reports or transfer payment data to external systems for various business needs.