
Event
Event Management
Creating and managing events in UniTarkerPro is a straightforward process designed to help users organize their schedules efficiently. Here’s detailed documentation on how to utilize the event feature within UniTarkerPro:
Accessing the Event Feature
Start by clicking on the sidebar within the UniTarkerPro interface. Within the sidebar, look for the “Event” option and select it. This action will take you to the event management area.
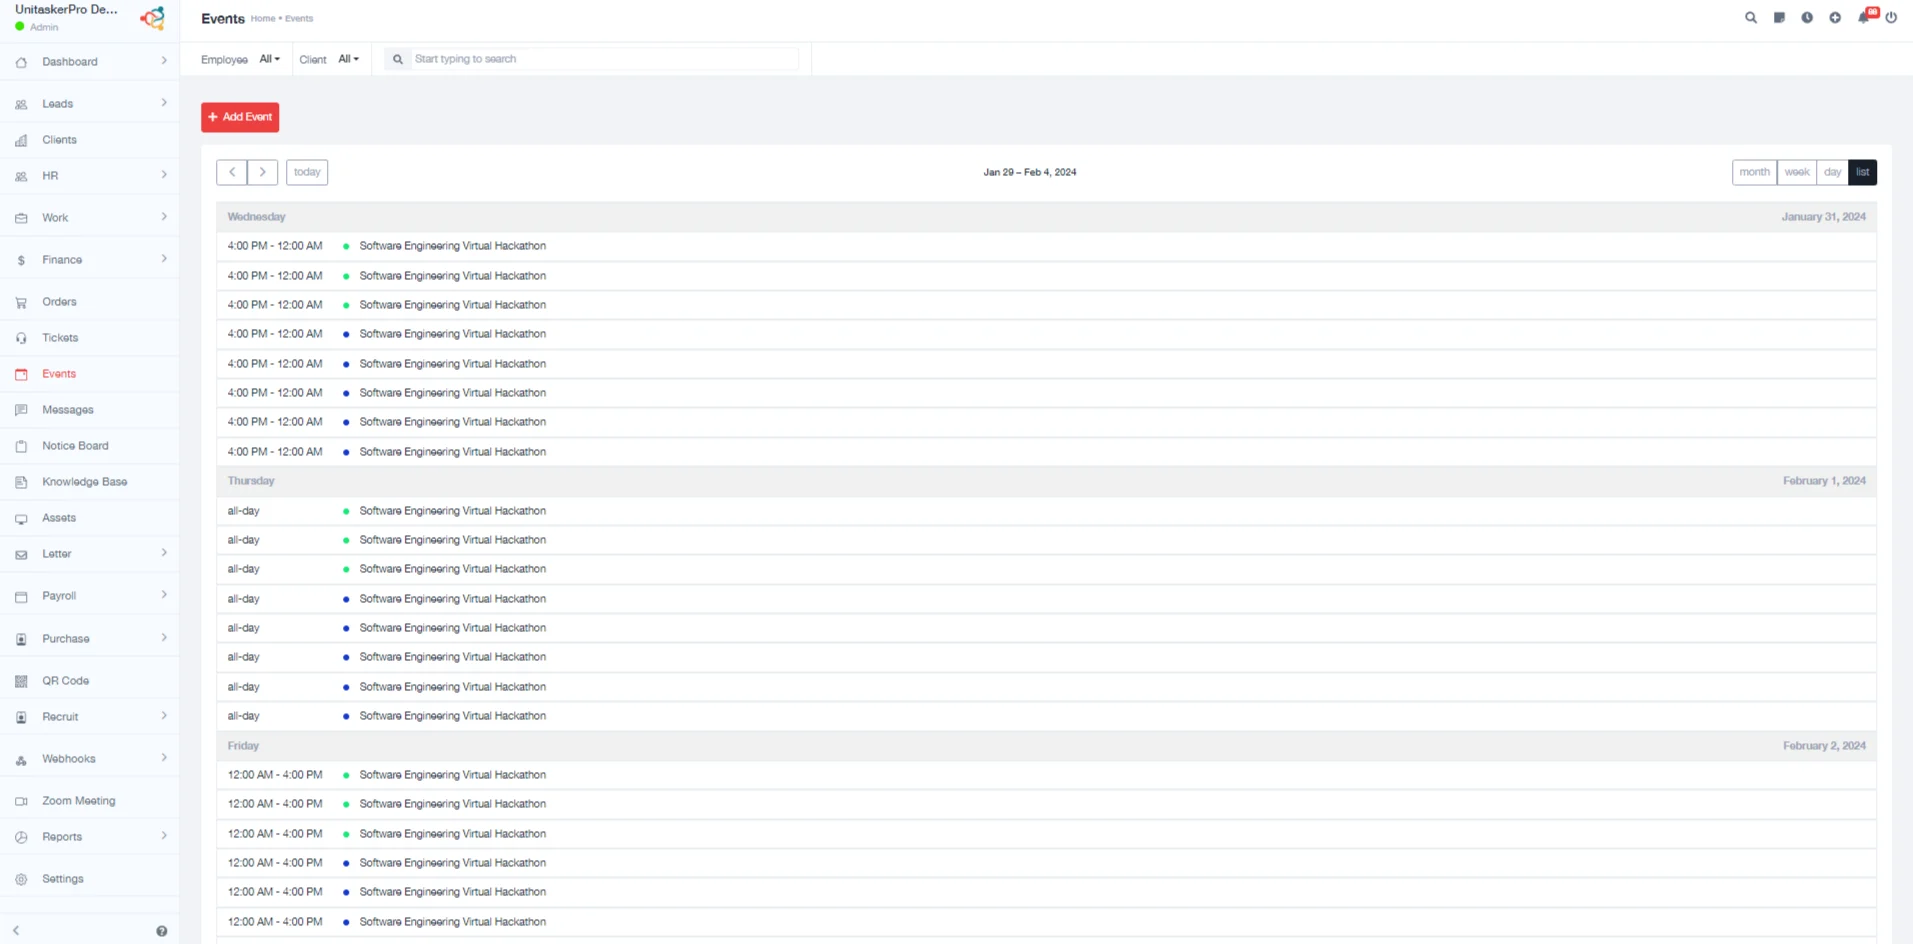
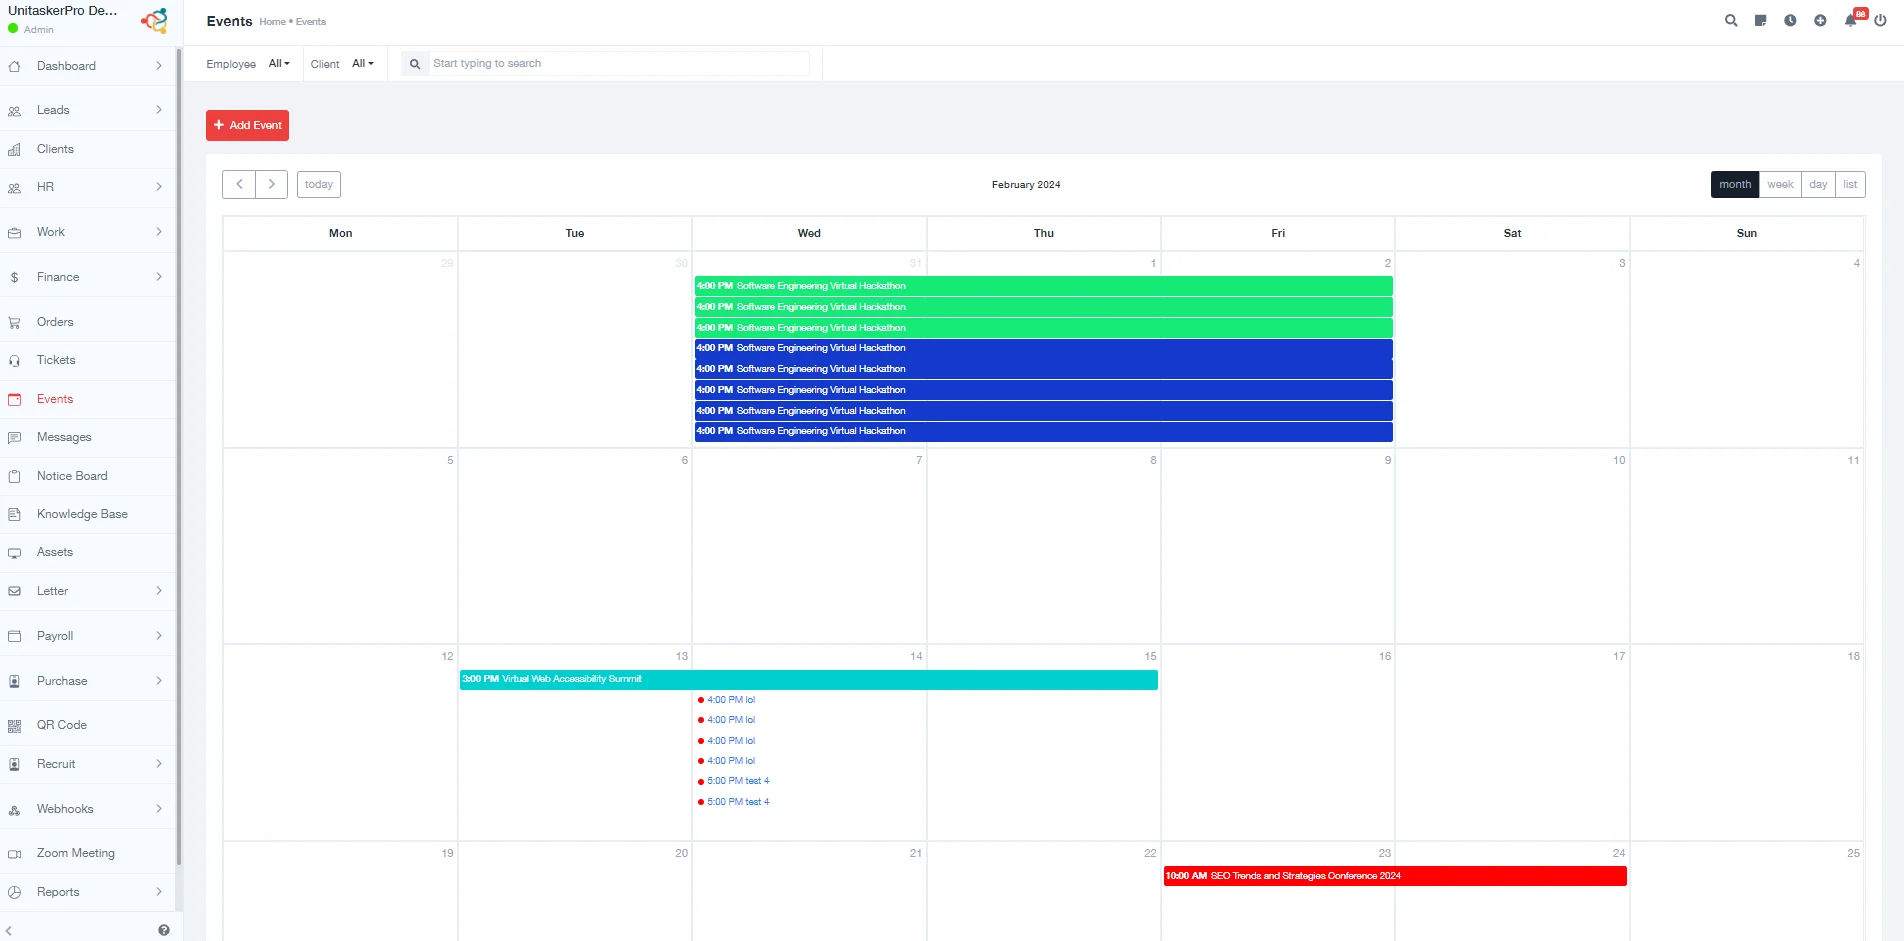
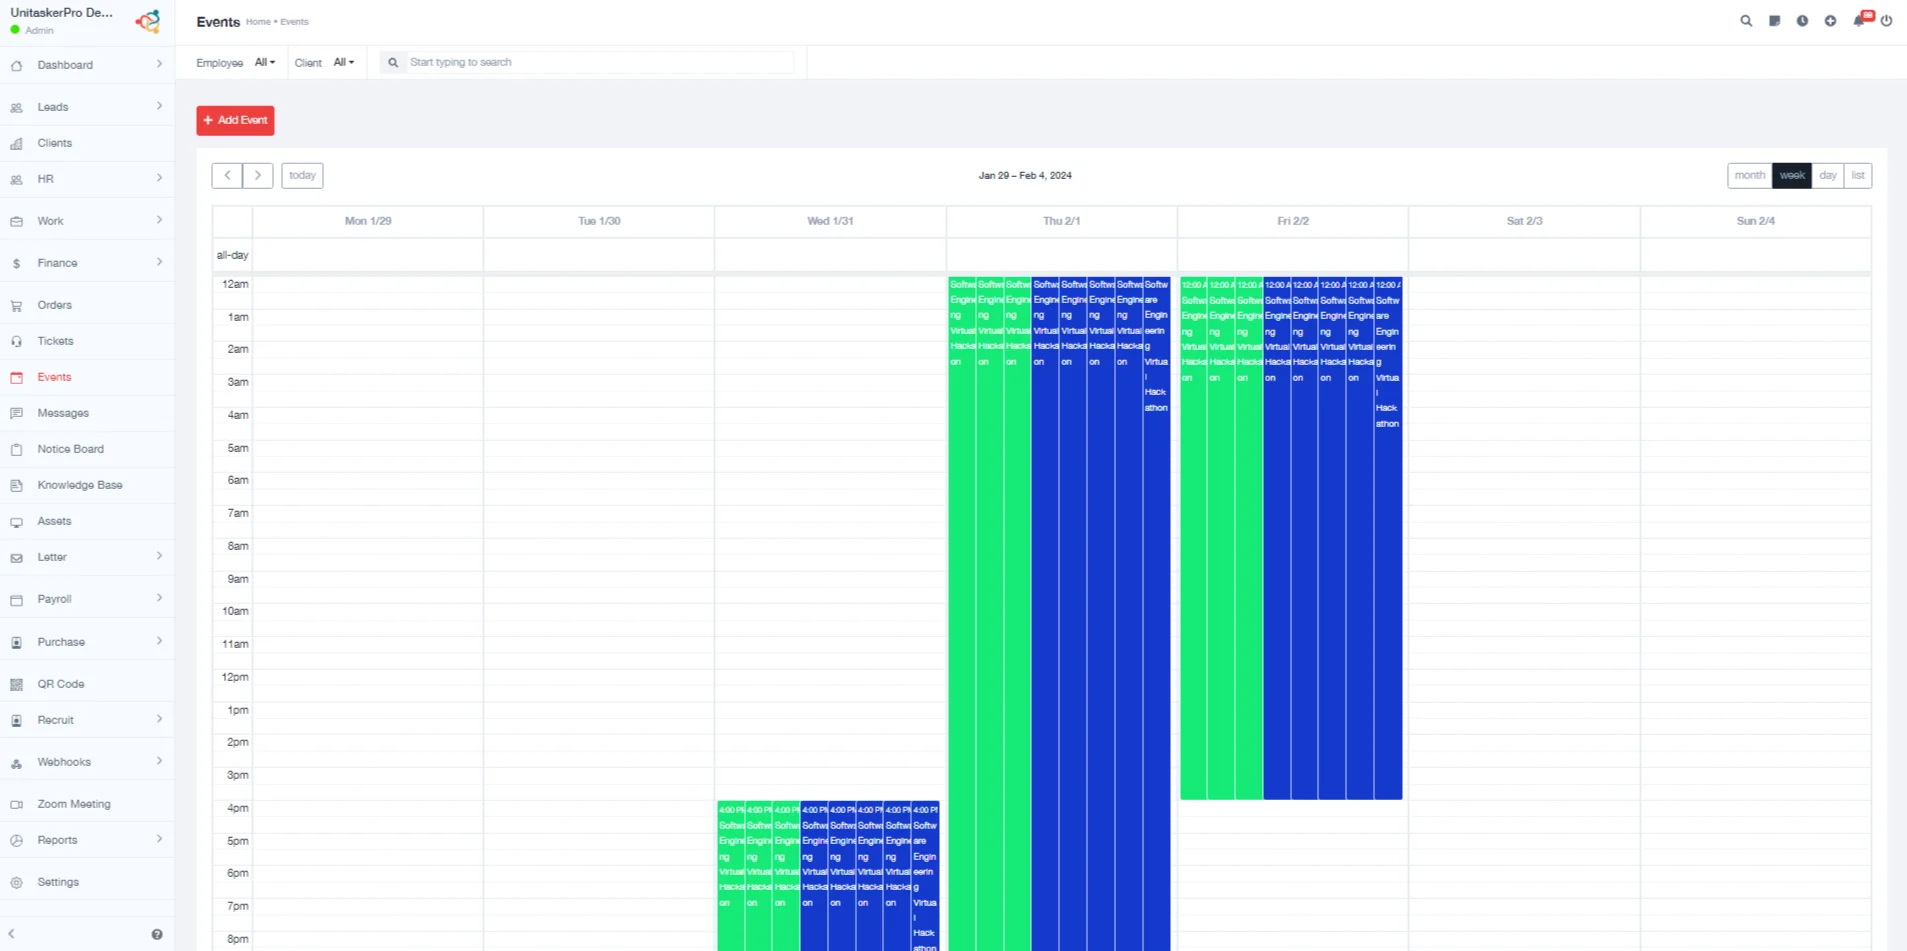
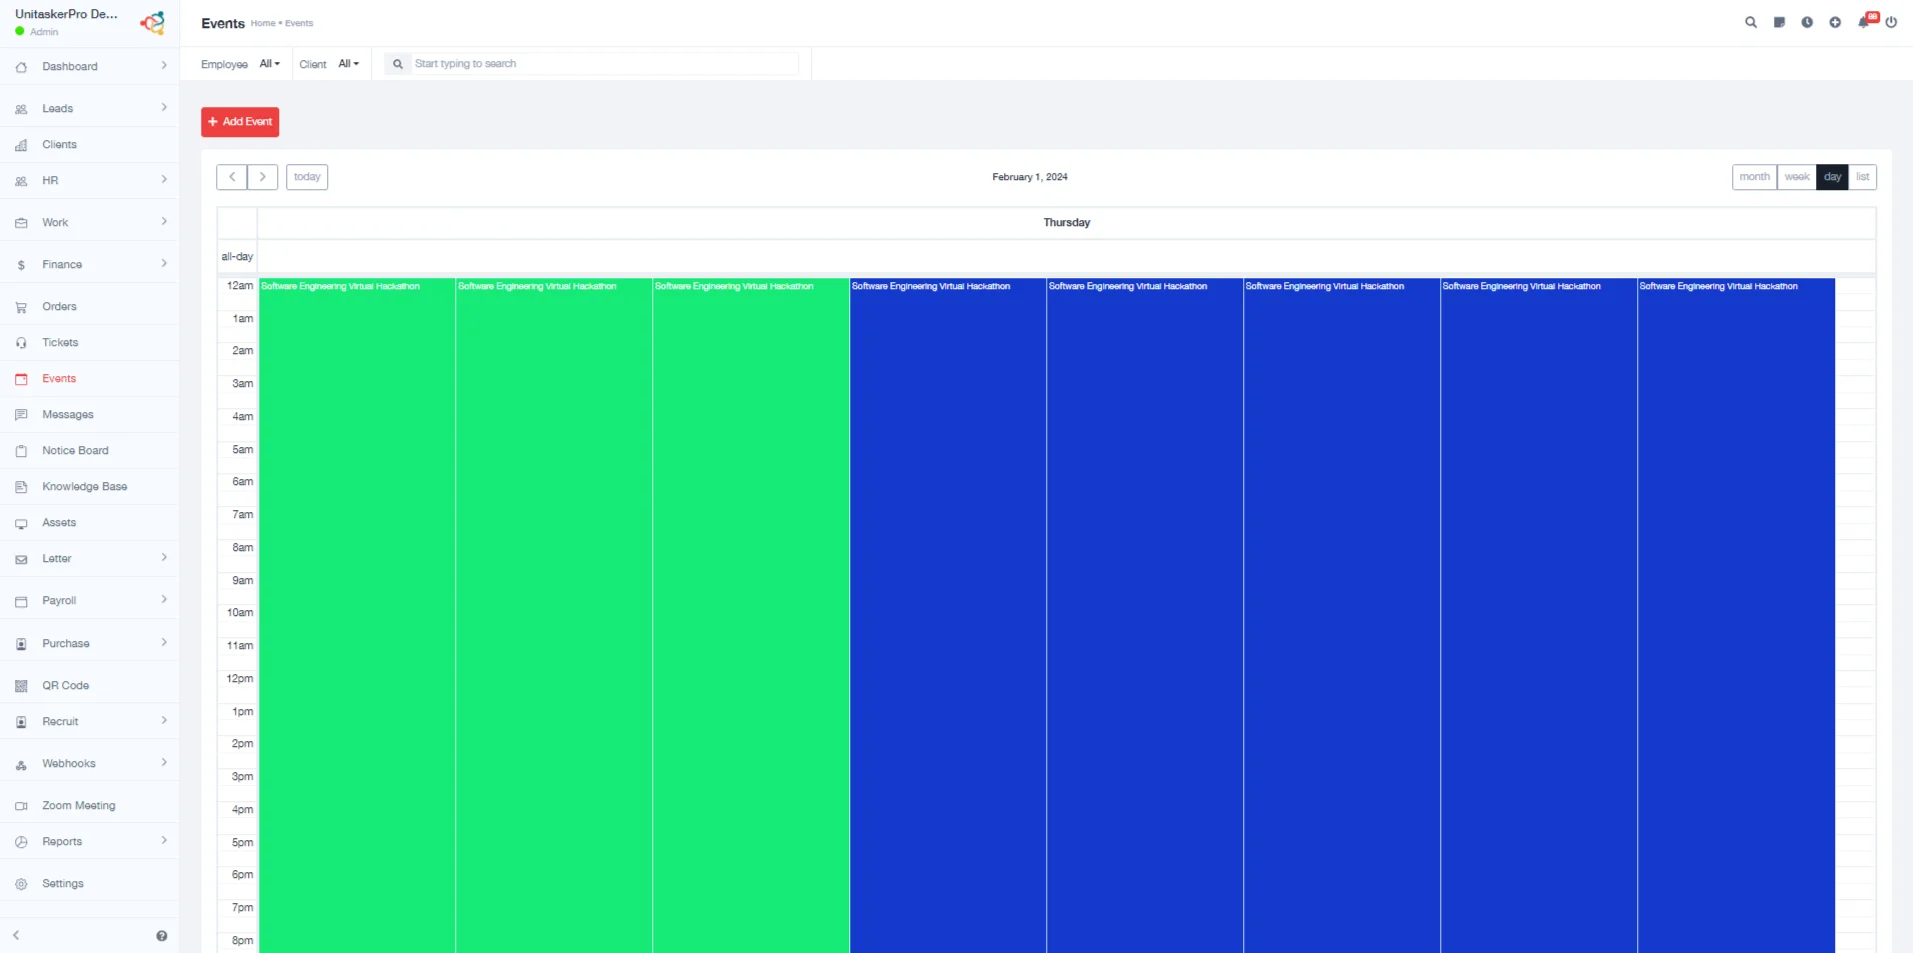
Viewing Saved Events
Once in the event section, you’ll find your saved events organized in different views for your convenience: Month, Week, Day, and List. These views allow you to see your events in a format that best suits your planning needs.
Adding an Event
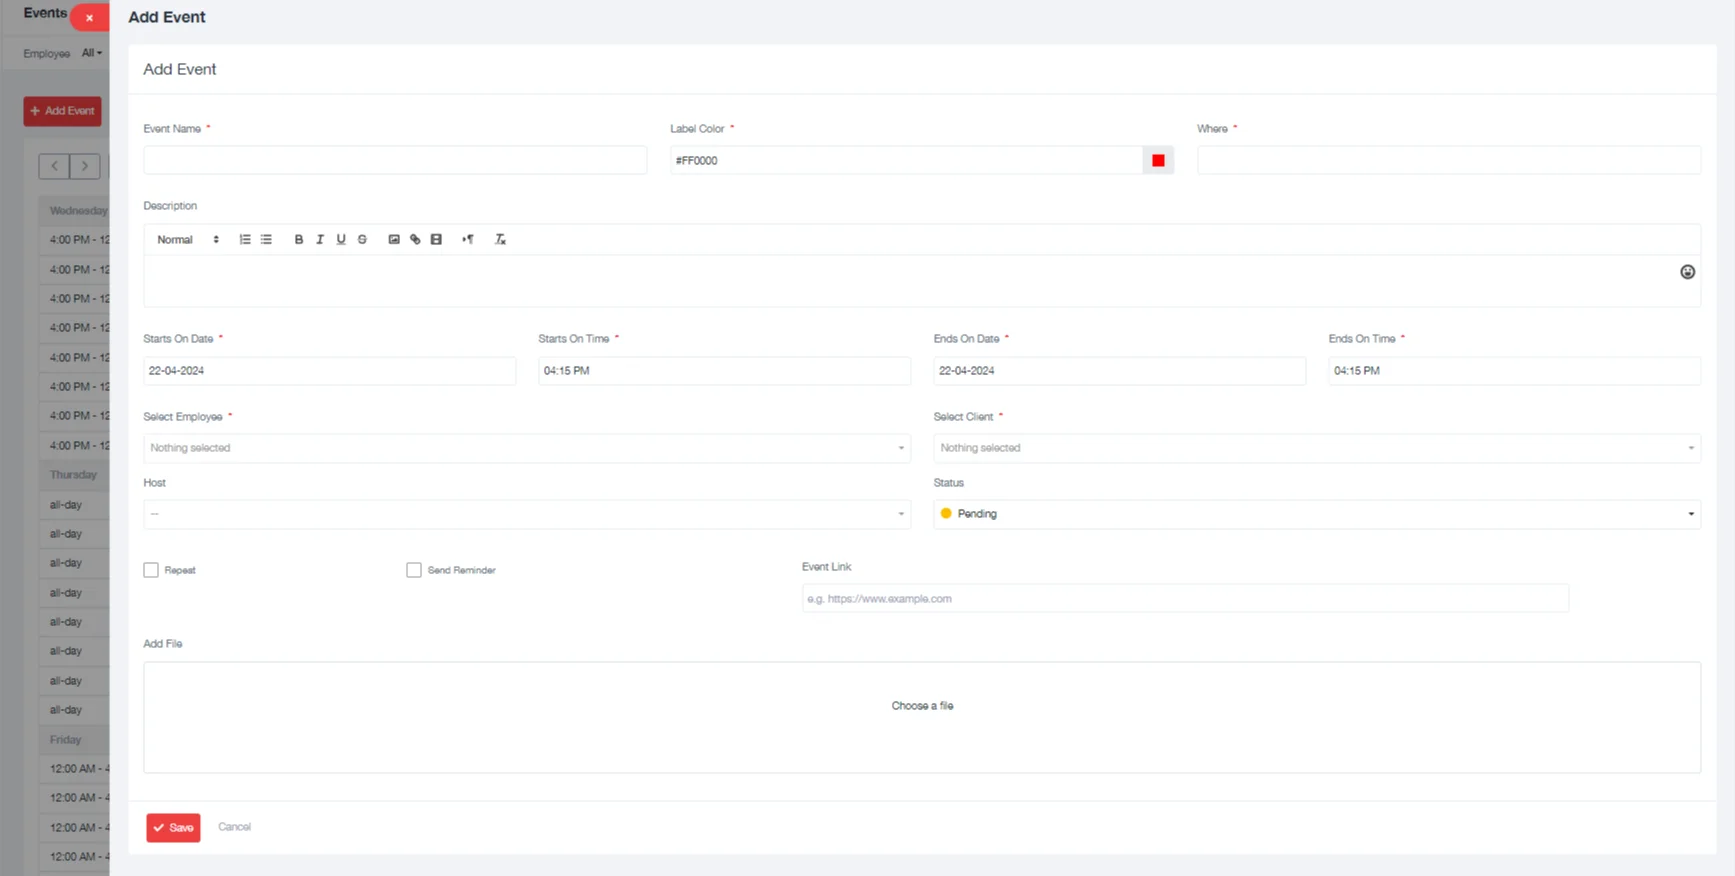
To create a new event, click the “Add Event” button. This will open a new page where you can enter the details of your event.
Filling Event Information
When adding a new event, you’ll be prompted to fill in various details to ensure comprehensive event planning:
- Event Name: Enter a name for your event. This should be descriptive enough to remind you of the event’s purpose.
- Label Color: Choose a color for your event. This is useful for color-coding your circumstances for better visual organization.
- Where: Specify the location of the event. This can be a physical address or a digital platform link, depending on the nature of the event.
- Description: Provide a detailed description of the event. This helps keep track of event specifics or share details with participants.
- Starts On Date: Select the date when the event will begin.
- Starts On Time: Choose the time at which the event will start.
- Ends On Date: Select the date when the event will end. This may be the same as the start date for single-day events.
- Ends On Time: Set the time at which the event will conclude.
- Select Employee: If applicable, choose which employee(s) from your organization should be associated with or notified about the event.
- Repeat: If your event occurs regularly, you can set it to repeat by choosing an option like “Repeat Every” followed by the frequency (e.g., daily, weekly) and the cycle (e.g., every 1 week).
- Reminder: Set a reminder by specifying how many days before the event you’d like to be notified. This ensures you’re prepared in advance.
- Event Link: If there’s a webpage or a digital meeting link associated with the event, you can include it here for easy access.
- Add File: Upload any relevant files or documents related to the event. This can include agendas, presentations, or participant lists.
Saving the Event
After filling in all the necessary information, click the “Save” button to add the event to your calendar. The event will then appear in your selected view (month, week, day, list), and you’ll receive reminders as set.
This comprehensive feature set ensures that you can manage your events with precision, keeping you and your team organized and informed.